How to Curate Content for Buffer Using UpContent
Marketing
 Marissa Burdett
We’ve been talking a lot about our integration with Hootsuite these days, but did you know our standalone application is integrated with Buffer, too? We love how simple our workflow is from finding great content in UpContent to scheduling it seamlessly through Buffer–all in one place. While this process has become second nature to us, we thought we would break it down and share what topics we pull content from and how we share it on our social media networks for our audience.
Below, you can find a screencast of the process from start to finish, including what topics I use, where I find even more inspiration, which sorting options I tend to use, and how I schedule our Twitter content through Buffer using the UpContent platform. If you prefer to read through the process, I’ve written it out for you, too!
Related: Essential Tools to Manage Our Technology Startup
Before I start tweeting out content, I make sure I have multiple UpContent topics to choose from so I am not at a loss for relevant and interesting content. In order to create topics, I must know what my audience is interested in. Through research and testing, I’ve discovered that our Twitter audience really enjoys articles and blog posts on content curation, content marketing, blogging, and social media. Knowing these interests helps to shape the keywords and phrases I use when I create a topic in UpContent.
As a result, I have created the following topics that I continually visit for curation:
Interested in these topics as well? Go ahead and click on the link to preview and bookmark them for your own use!
These topics are great, but I love to have even more options, so I also like to use topics that I’ve bookmarked or discovered through the Topic Gallery. It’s helpful to have access to great topics that I don’t have to create for myself!
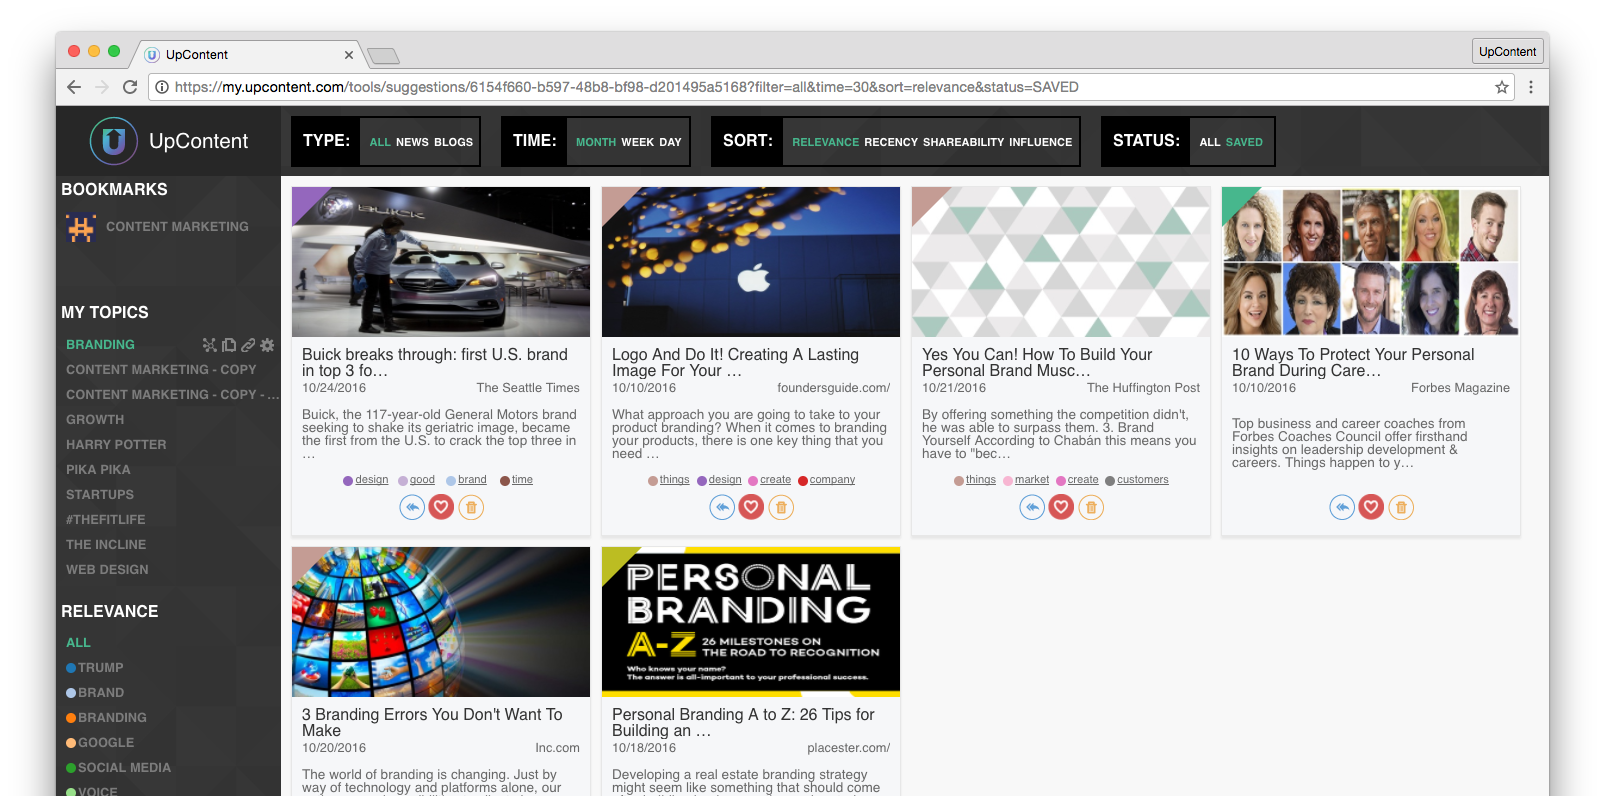
Once I’ve created or bookmarked topics, I now set my sorting options. Typically, I stick with the default sorting options: All, Month, Relevance, and All.

But depending on my specific marketing goals, I might switch it up. Here’s how I decide which sorting options to use:
You pretty much can’t go wrong because each of these filters will share the same content, just in a different order! My goals help me decide where to start.
Now that I’ve set my sorting option, it’s time to scroll through my results, click on the content that looks most interesting, and read the full-text of the article or blog post. At this stage, it’s really easy to get lazy, but don’t. Commit to at least skimming and scanning the entire article to access the content’s quality, credibility, and audience appeal. If it passes your test, you’re ready to share.
Related Post: Finding the Gold: How to Evaluate Content for Quality and Value
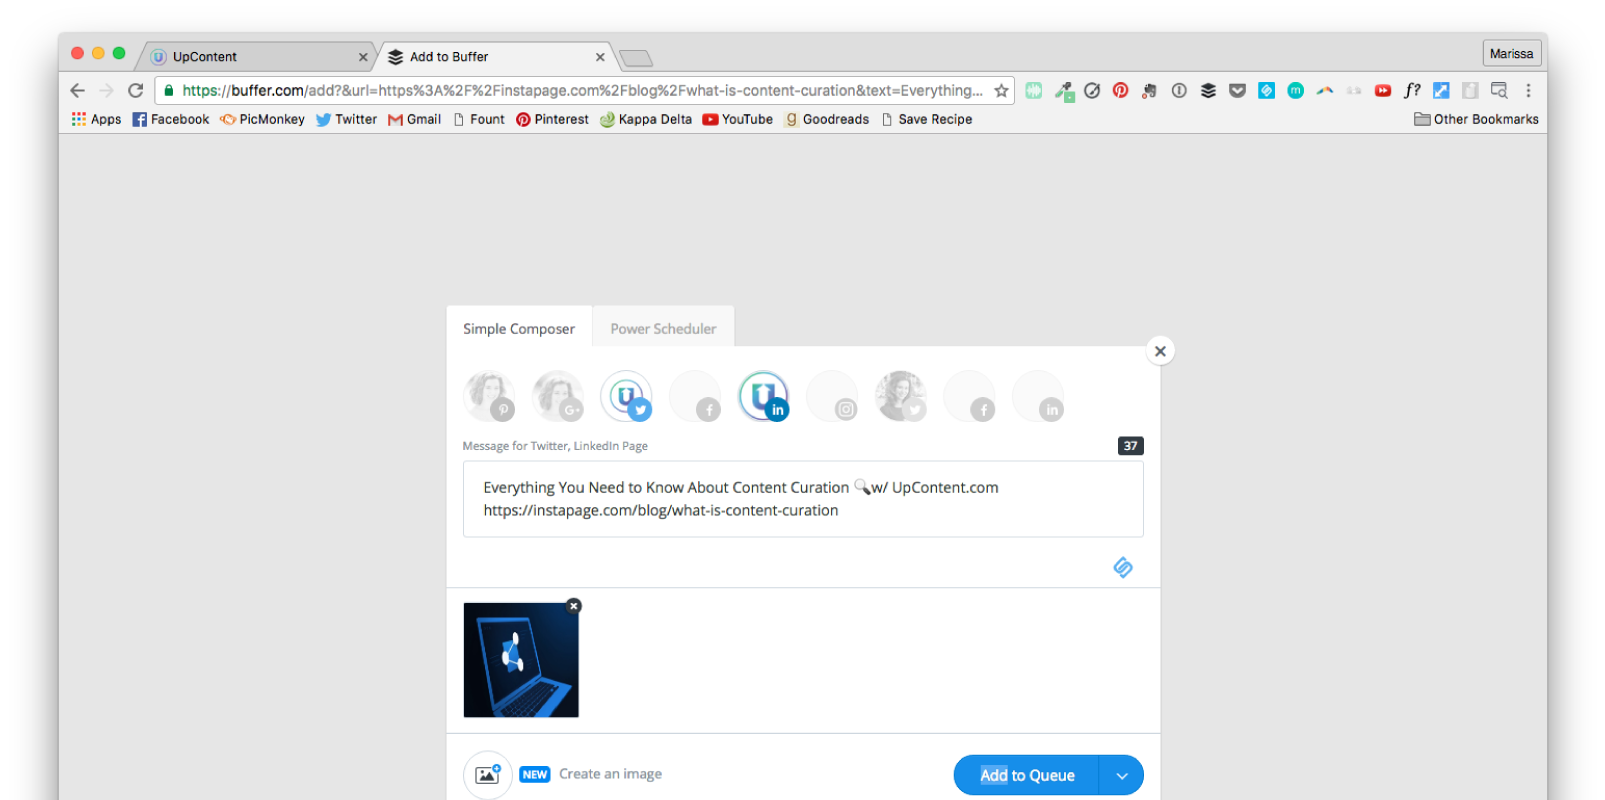
I simply click on the share button and Buffer opens automatically in a new tab. This is where I delete the default text that appears (the headline of the article) and type in my own insight, include a quote, and/or tag the author. The picture will pull in automatically, but I can also delete or add my own accompanying image. Finally, I add it to my queue.

I also utilize the Power Scheduler option in Buffer if I want to share that content multiple times at different intervals.
After I’ve read and evaluated the content, I personally like to “favorite” the article so I can come back to it to curate or reshare again later. The Saved option in my sorting bar allows me to see these saved pieces at any time. This really helps me when I’m in a pinch for content, as I can trust that the content meets my quality standards.

That’s it! I simply repeat this process for all of my topics and my Buffer queue is filled up in no time. This process has eliminated my content discovery process significantly, so I can spend more time engaging on our Twitter feed, writing original content, or working hard on improving UpContent with the team.
Sign up to start sending content to your Buffer queue.
We’d love to hear what YOUR curation process with UpContent is like! Shoot us an email at info@upcontent.com and maybe we’ll get to feature you in the future.